
Contact Us
Our Office
Hostao® Web Hosting Solutions
Peniel Puram
Oonnukal P O
Pathanamthitta
Kerala
India
We believe communication between you and our company is the key to success for any business relationship. We will answer you within 24 hours or less.
If you have any question, an issue with your apps or need technical support / assistance please email at : support at 2createapps.com.

FAQs (Knowledge Base)
FAQs, video tutorials, and information about 2CreateApps including features, history, and resources

Community
Get instant answers for your queries and know how to use 2CreateApps like a pro

Submit a Ticket
Can’t find answers to your questions? Raise a ticket or request a call back from 2CreateApps support

My Profile
Manage your profile, account settings, and track the status of your tickets
Frequently Asked Questions
What is an App?
An App is a short name for Application. Apps are created for multipurpose: games, books, restaurant’s menus, news, and various other utility apps. 2CreateApps Mobile App builder software helps you to create an App for various purposes and allows you to share it with your friends. The best part, its free and involves no prior coding knowledge.
How to prepare your app on iTunes Connect?
1.Choose Category under App information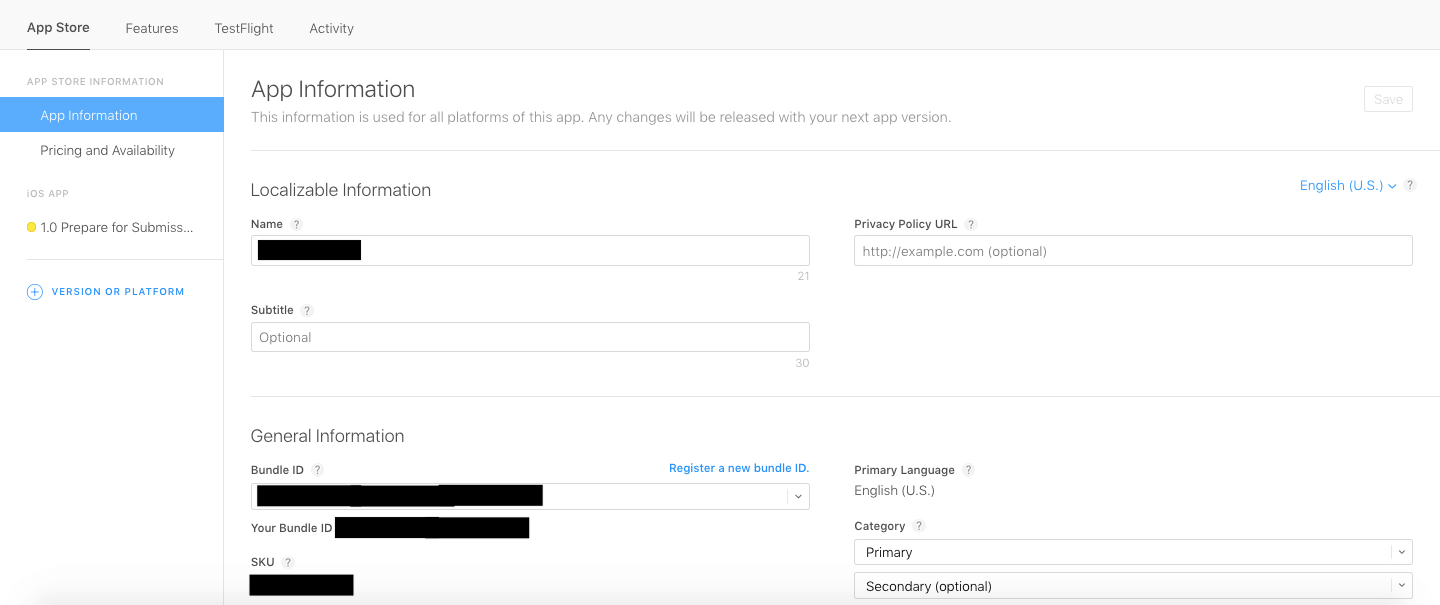
2.Go to Pricing >> Choose suitable pricing Tier (As per iTunes guidelines)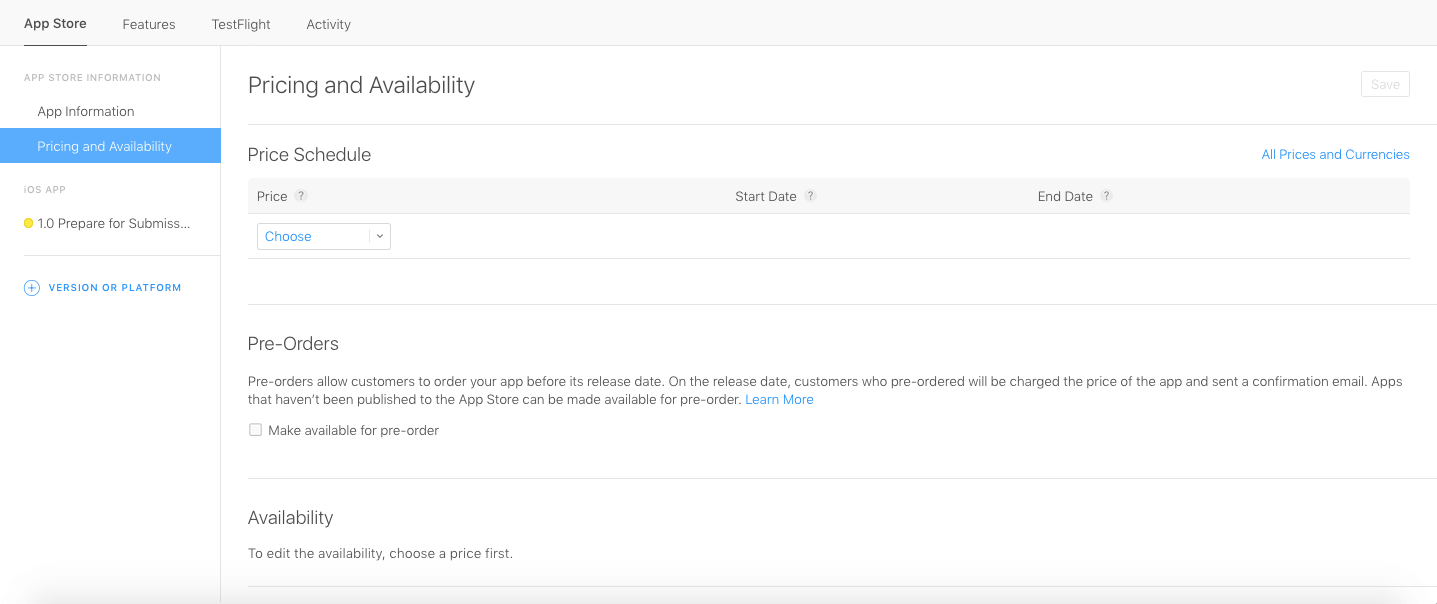
3.Upload Screenshots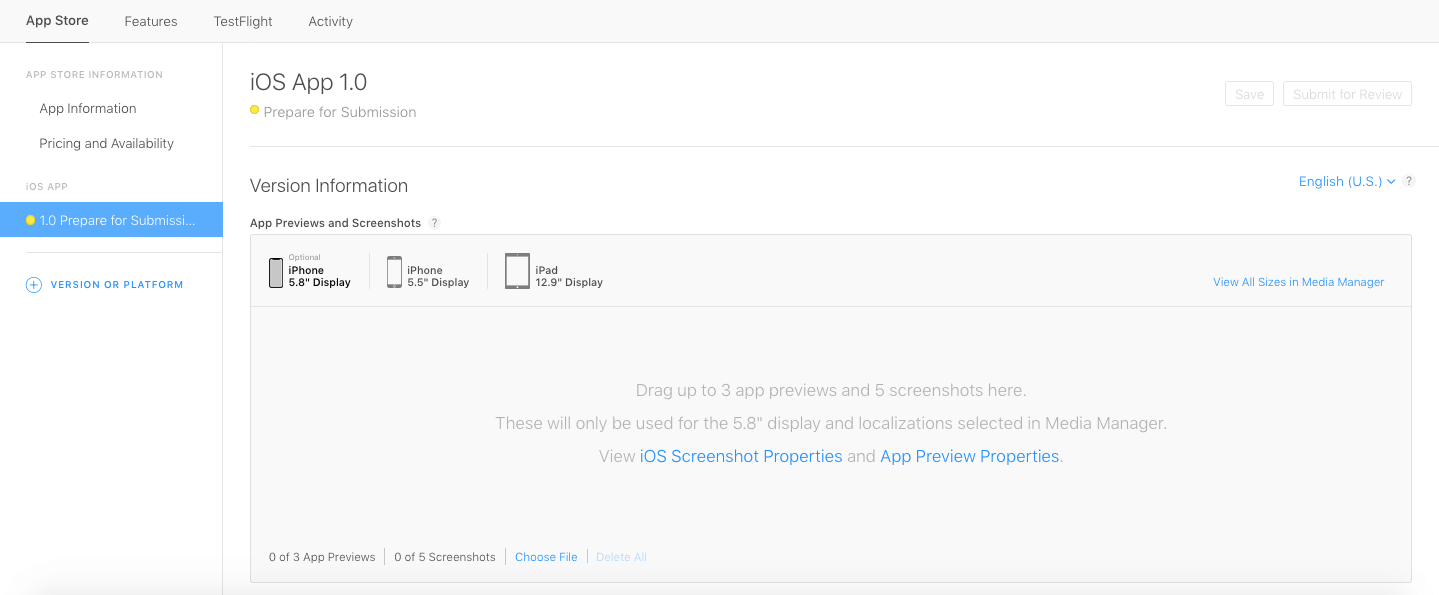
4.Type App Description, Keywords and Support URL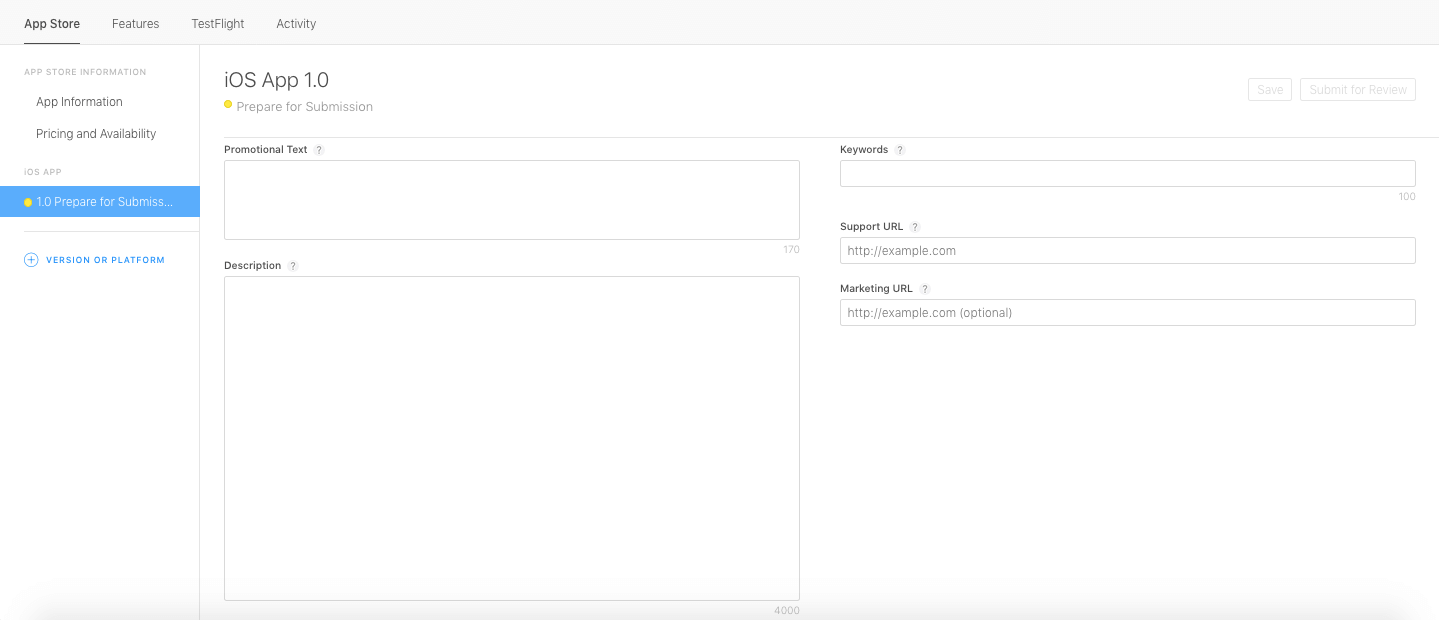
5.Upload App Icon, Enter Rating and all details like Name, Email address, Contact number, e.t.c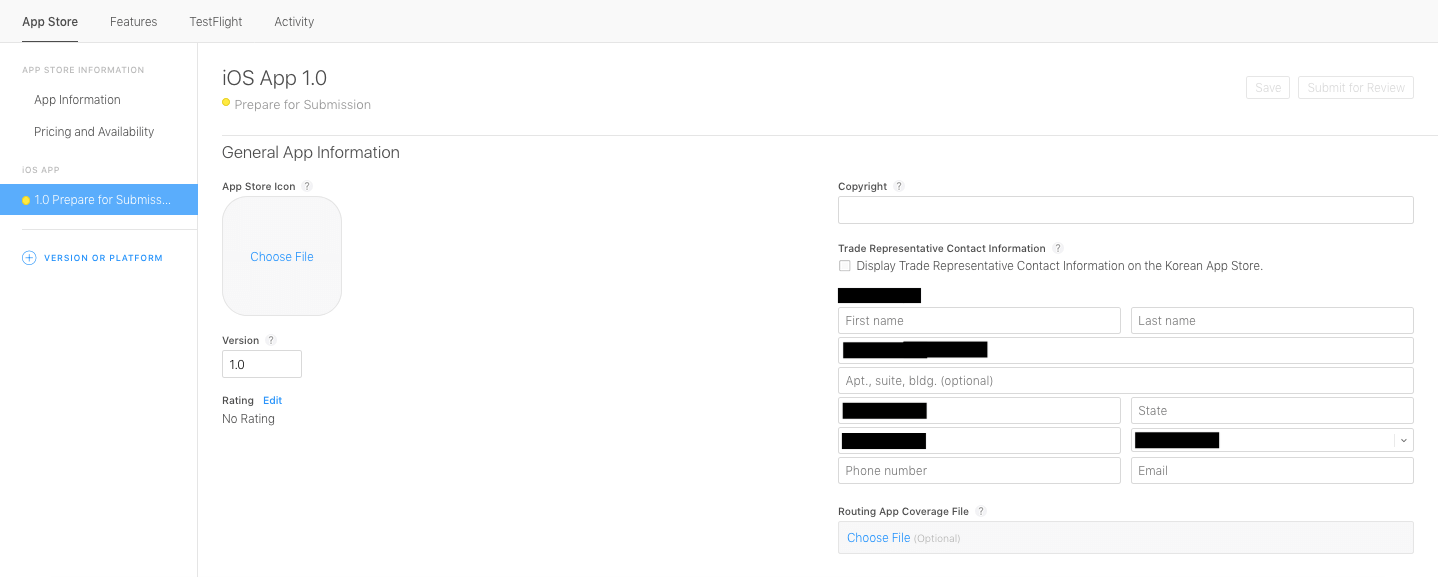
6.Provide Contact Information and choose to Automatically Release App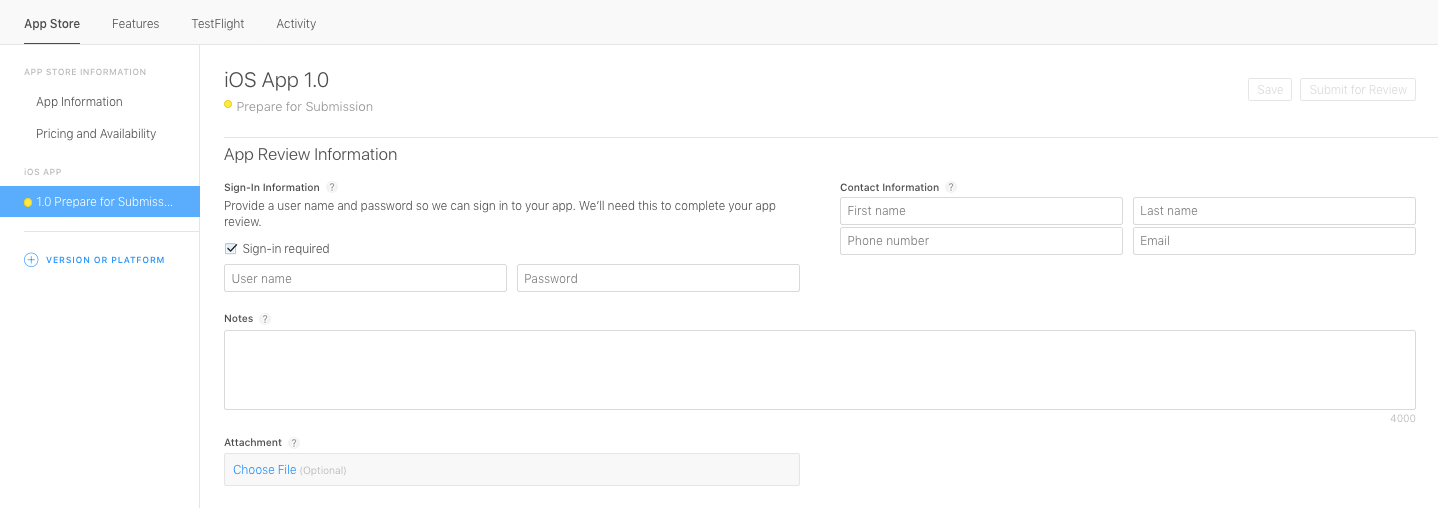
How to submit your app for Apple review?
Send your app for review
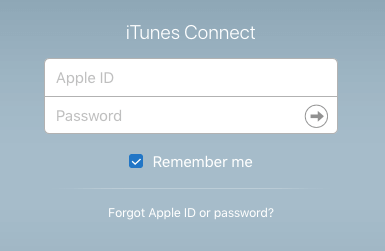
- Login into your iTunes Connect account
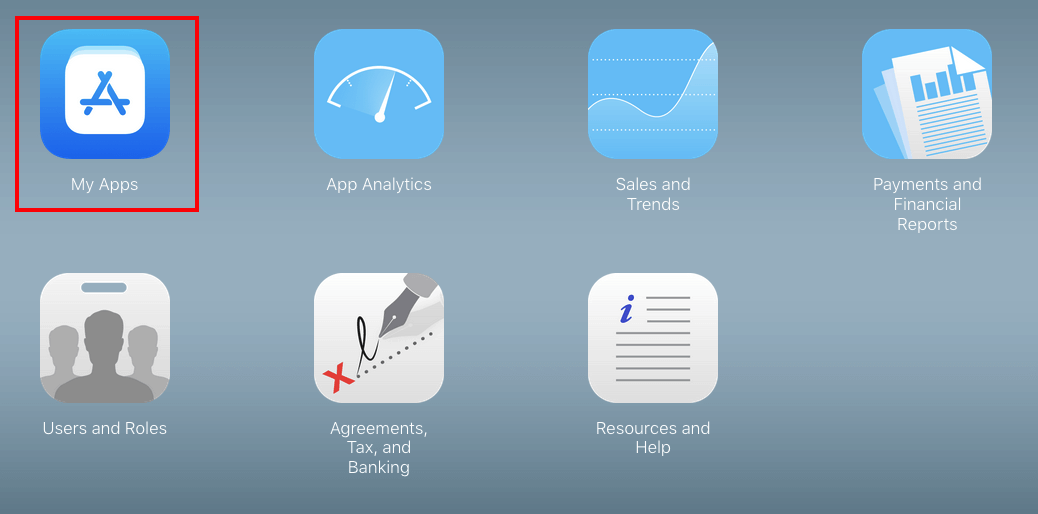
- Click on My app and click on your app
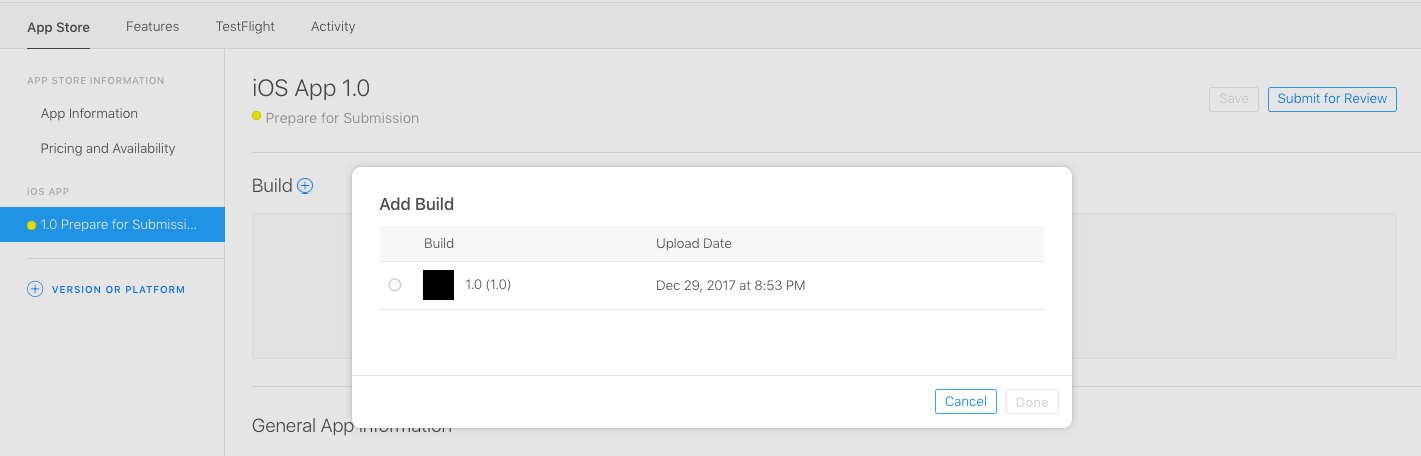
- Select prepare for submission now, and click on ‘+’ in Build section
Note: It will take 30 minutes to 1 Hour, to reflect into the Build section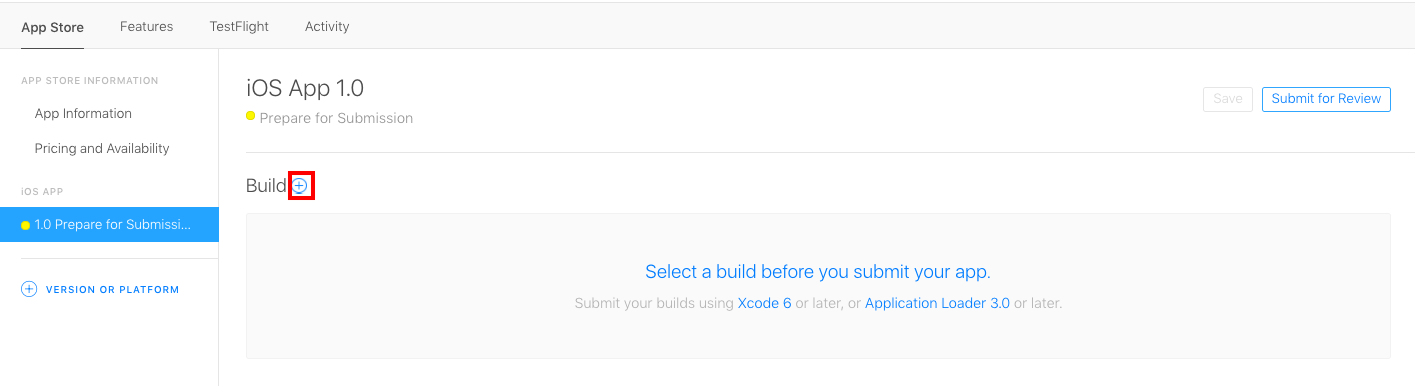
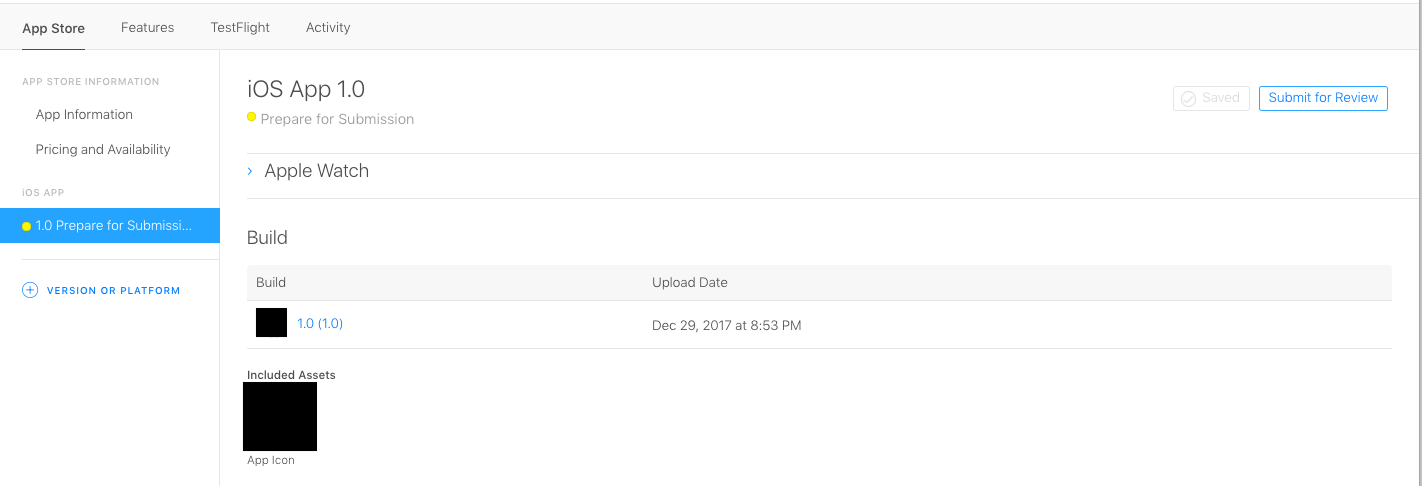
- Select latest uploaded build, then click on Done
- Click on Save

- Click on Submit for Review
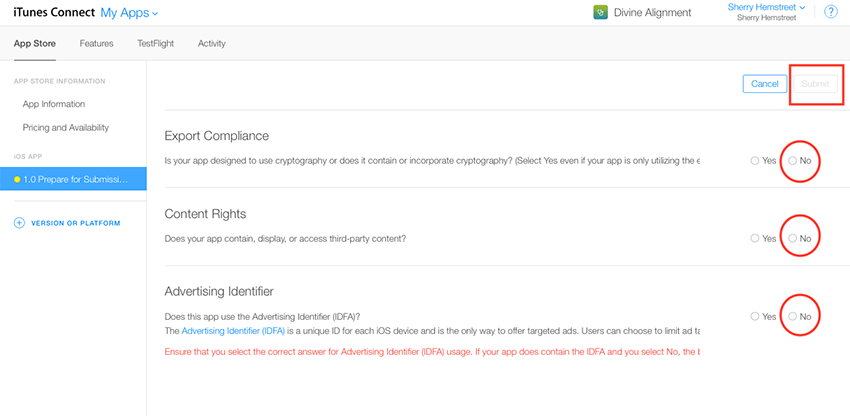
- If your app contains Ads, then select Yes, for rest select No
How to upload your app via Application Loader on iTunes Connect?
Upload your app from Application Loader
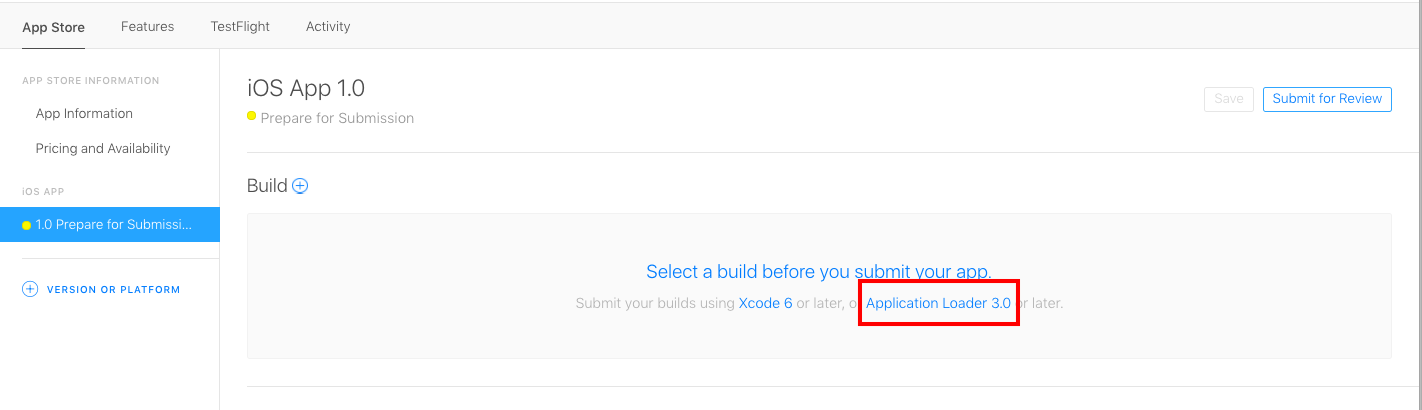
- On your Mac computer, open the Application Loader, if you don’t have Application Loader,, you can download it from Build, under Prepare for Submission section
- Enter your Apple ID and Password
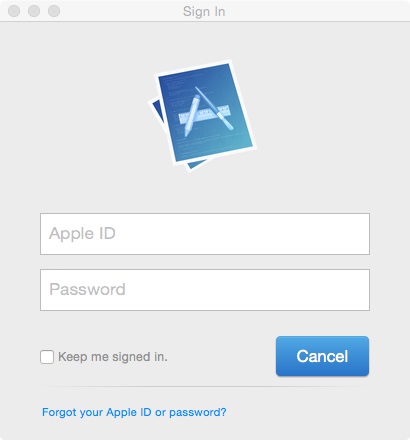
- Click Next
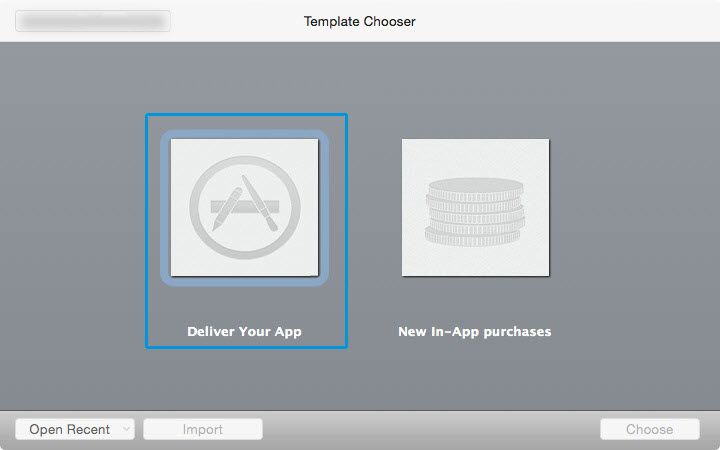
- Click Deliver Your App
- Select the app you would like to Submit and click Open
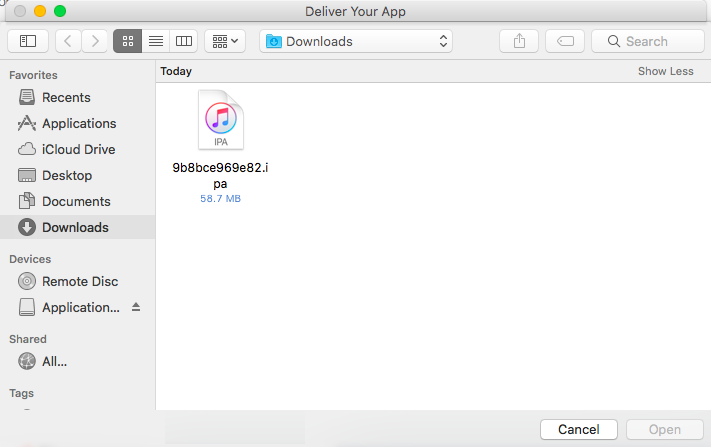
- Click Next
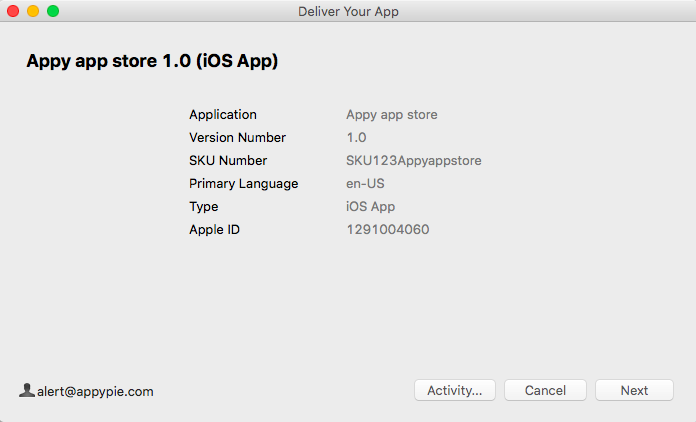
- Wait for the application loader to upload your file. Once your file is uploaded, you will see a green check (this implies that your app has been submitted to Apple).
Note: You only need to click Send if you receive an error message and want to re-add your application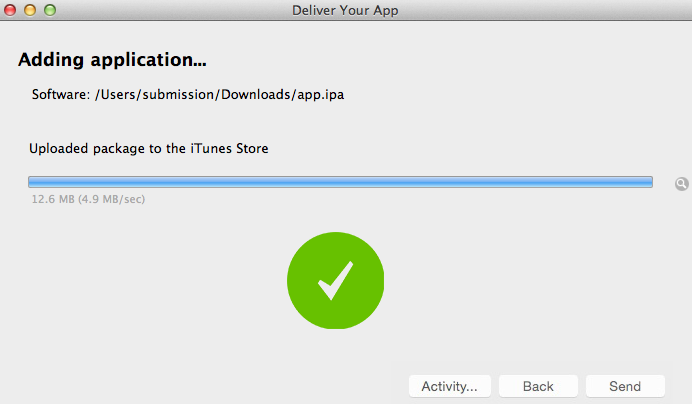
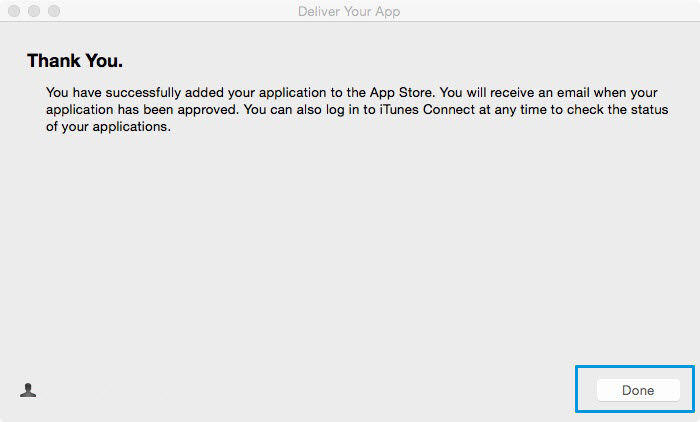
- You have successfully added your application to the App Store, click Done
How to create app on iTunes Connect?
Create app into iTunes Connect
- Go to iTunes Connect
- Click on My Apps
- Click on ’+’ sign

- Choose New App

- Choose iOS platform, Enter App Name, Select Language and Bundle ID (as on certificates), Enter SKU (e.g., SKU1324APPNAME), and click on Create to continue
Note: Select tvOS if you wish to submit your app for Apple TV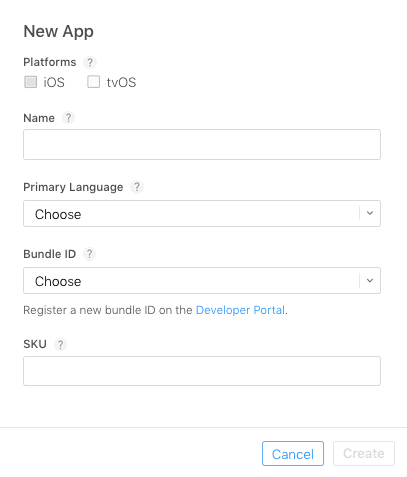
- Choose Category under App information
- Go to Pricing >> Choose suitable pricing Tier (As per iTunes guidelines)
- Upload Screenshots
- Type App Description, Keywords and Support URL
- Upload App Icon, Enter Rating and all details like Name, Email address, Contact number, e.t.c
- Provide Contact Information and choose to Automatically Release App
How to upload your app from Transporter App?
Follow the below steps to upload your app from Transporter App:
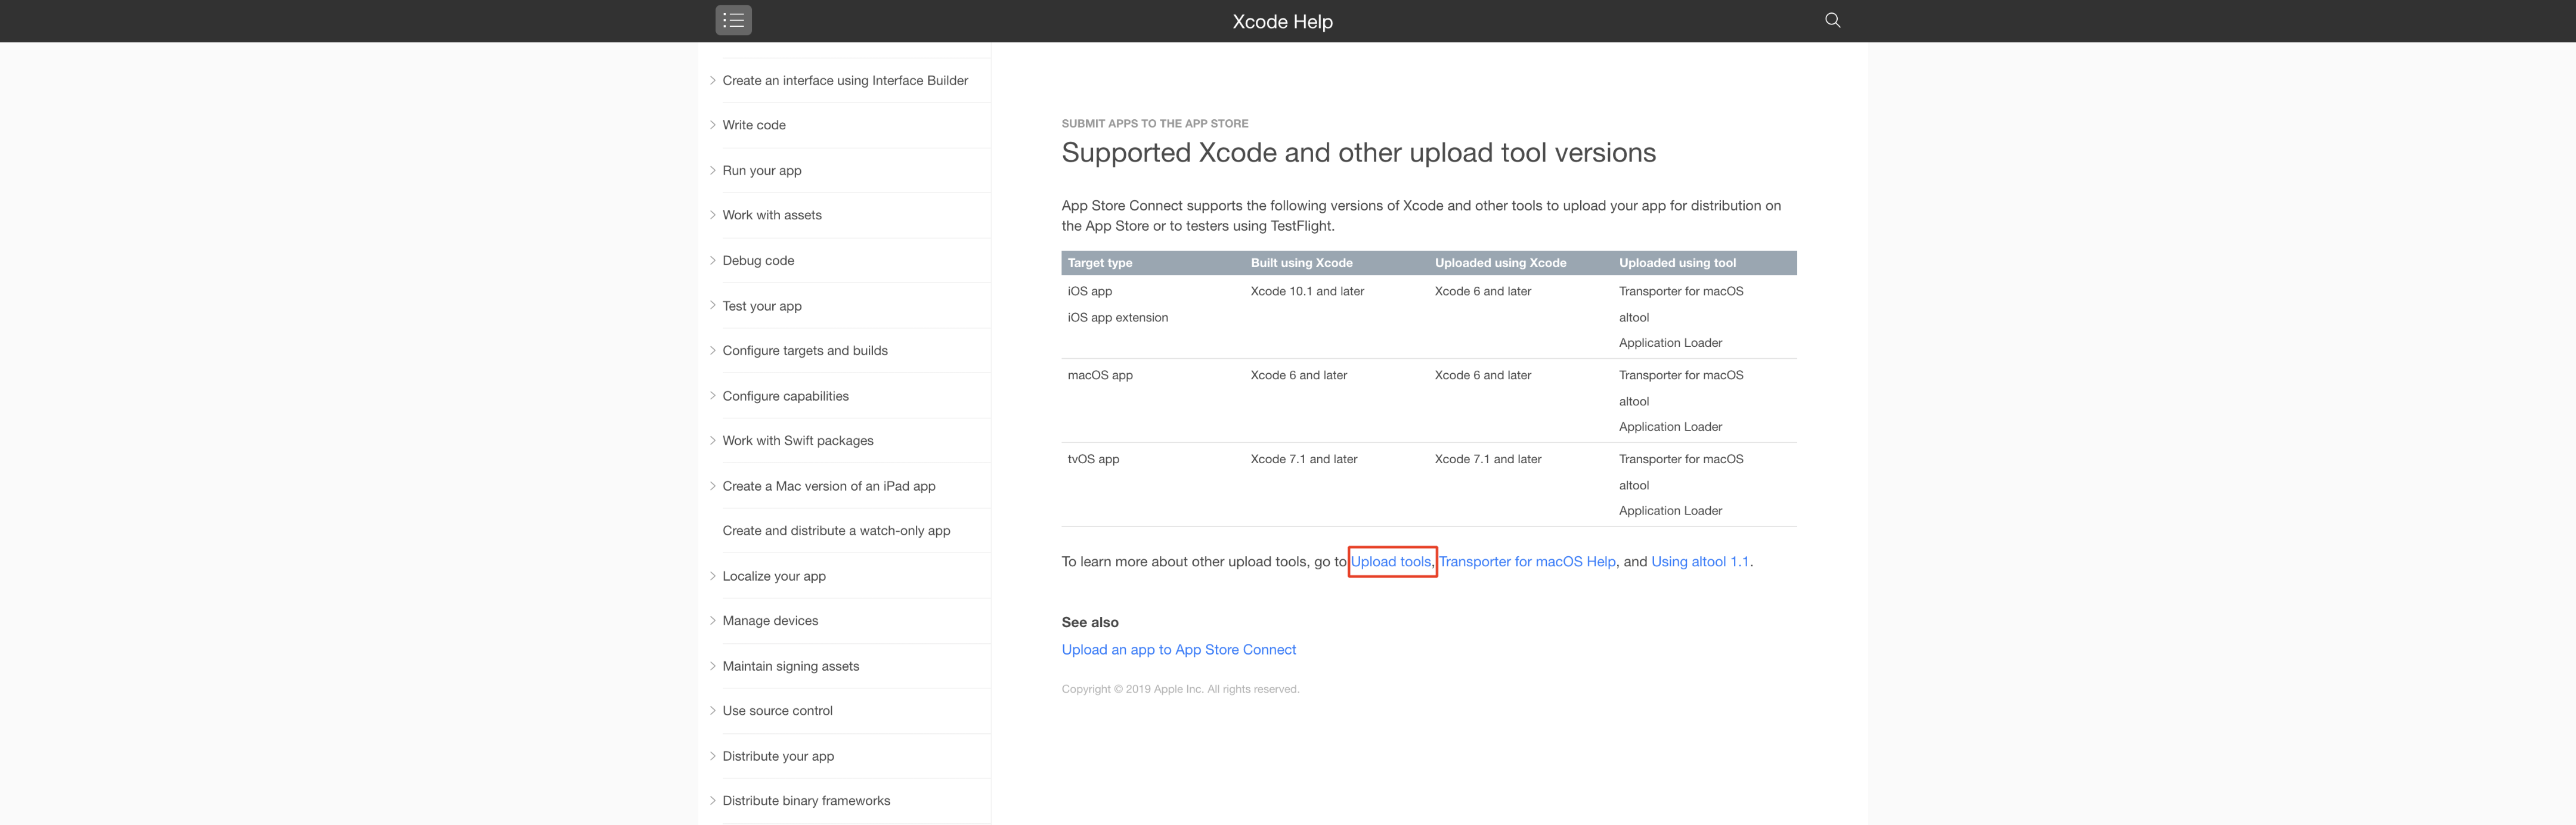
- On your Mac computer, open the Transporter App, if you don’t have Transporter App , You can download it from Build, under Prepare for Submission section and click on See supported versions
- Click on Upload tools
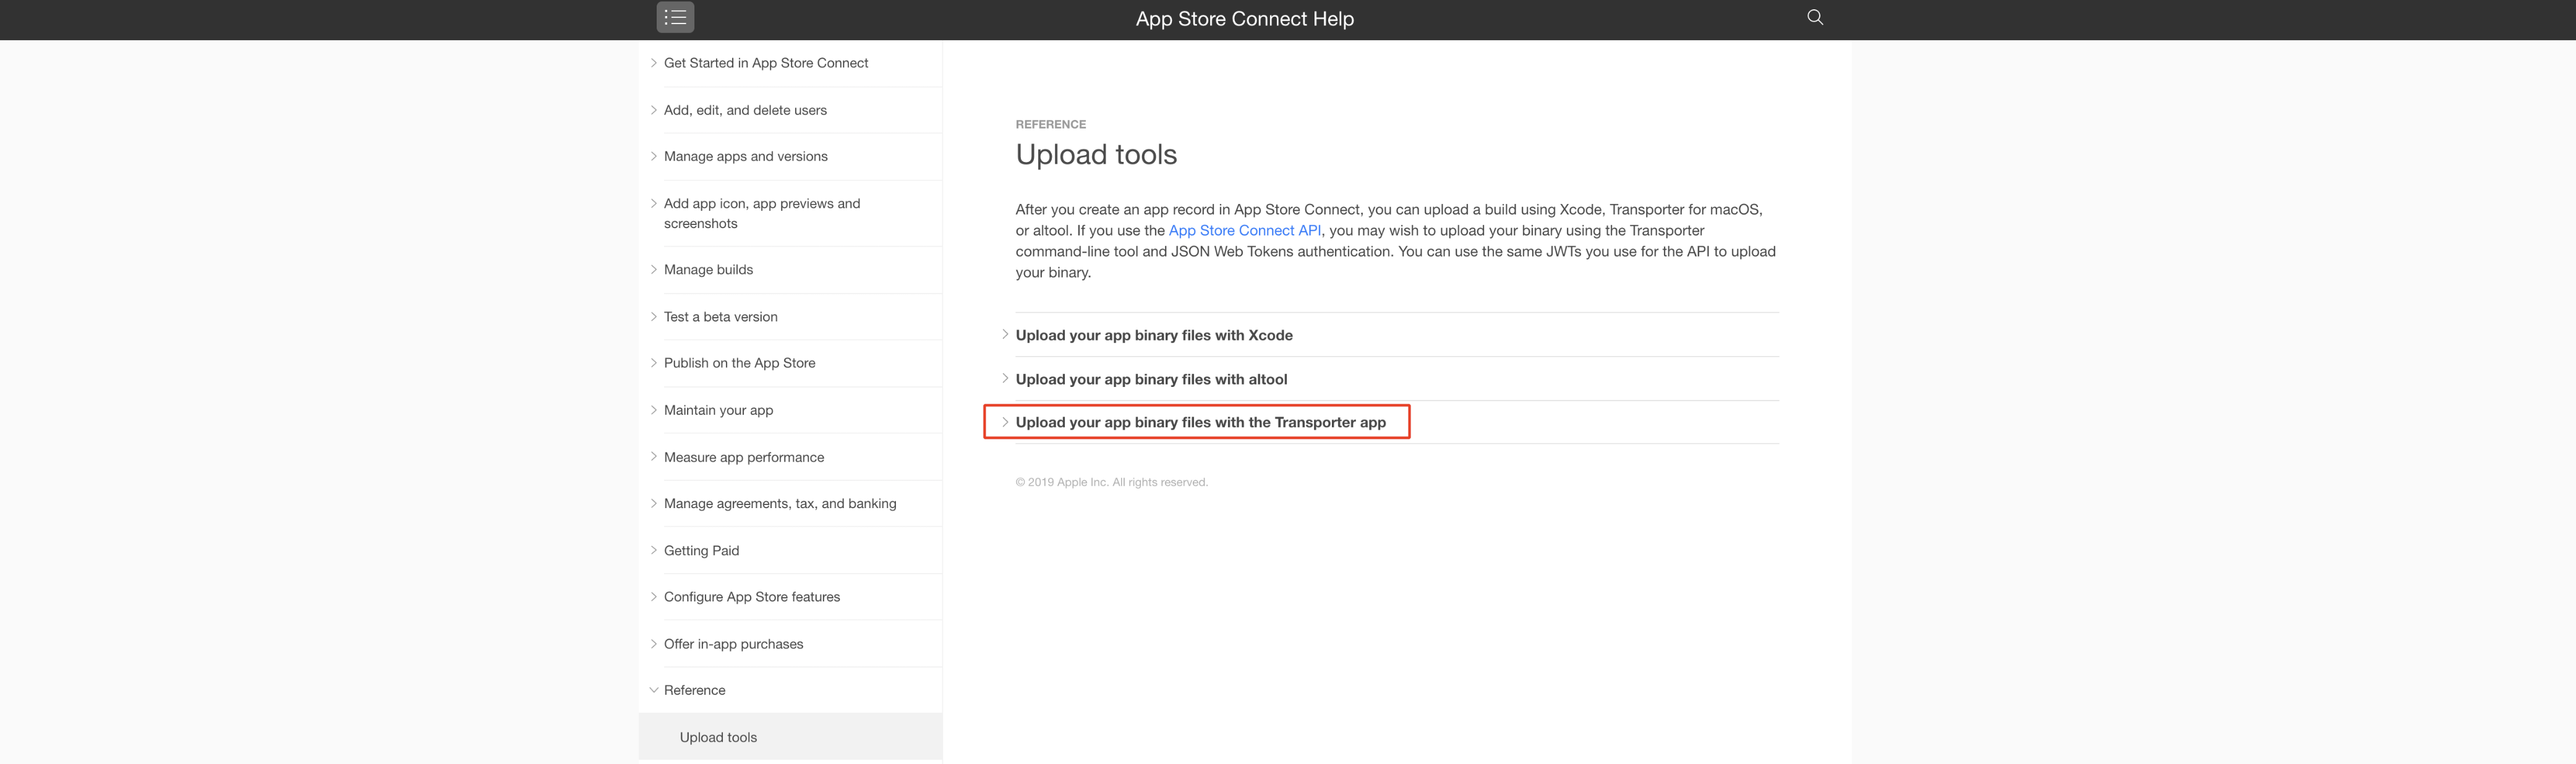
- Click on Upload your app binary files with the Transporter app
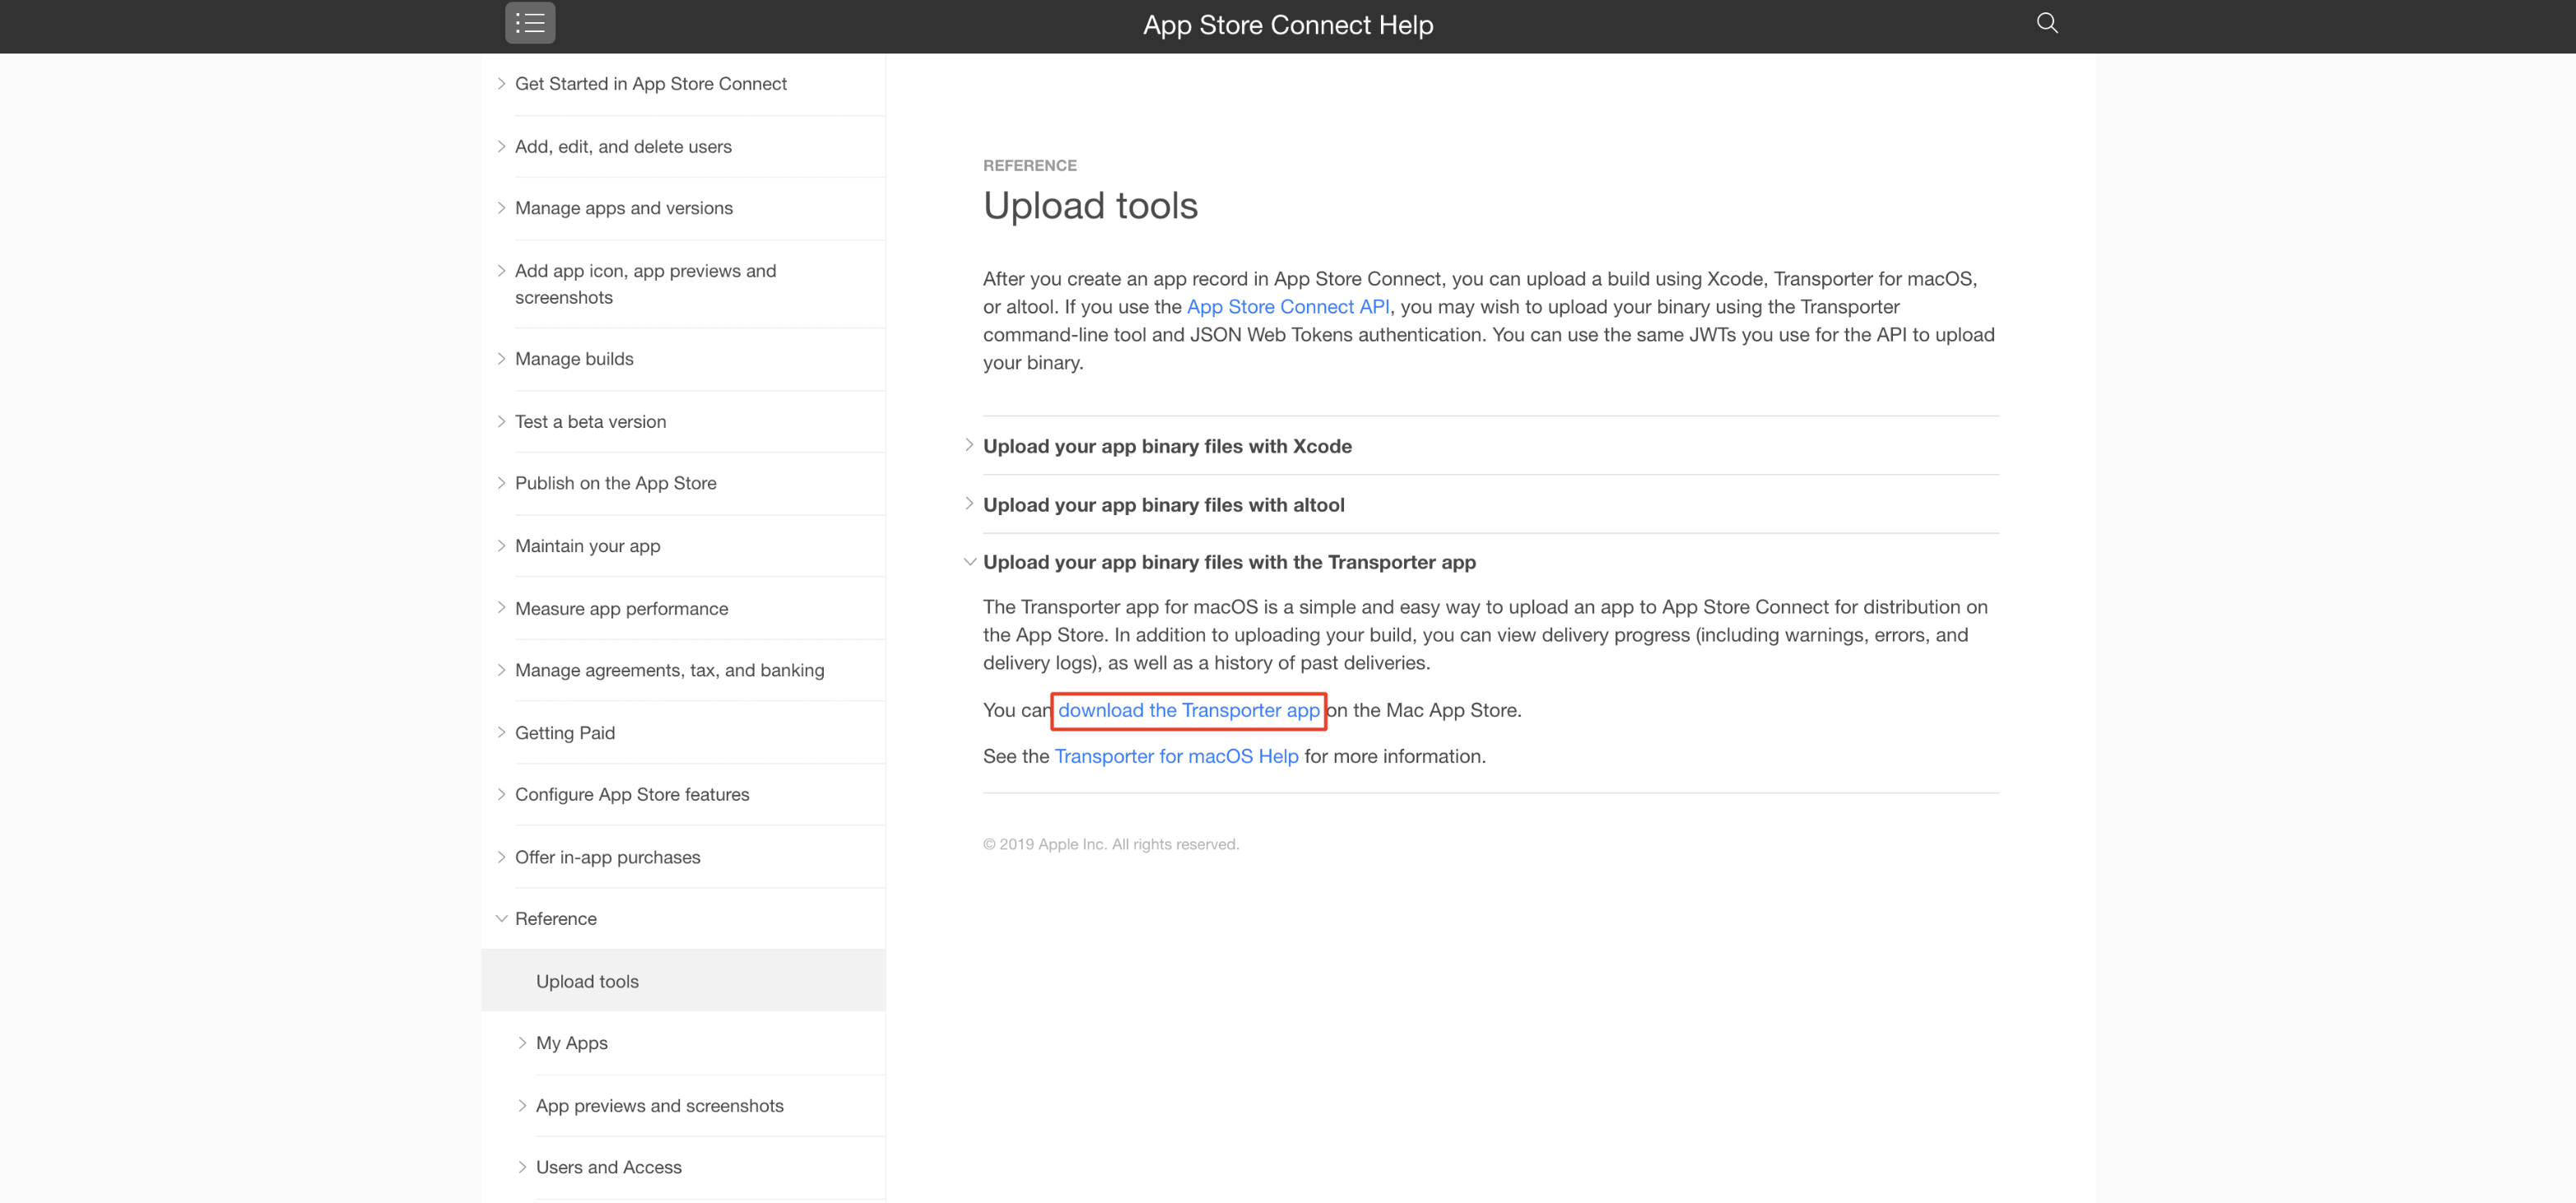
- Click on download the Tranporter app
- Click on View in Mac App Store
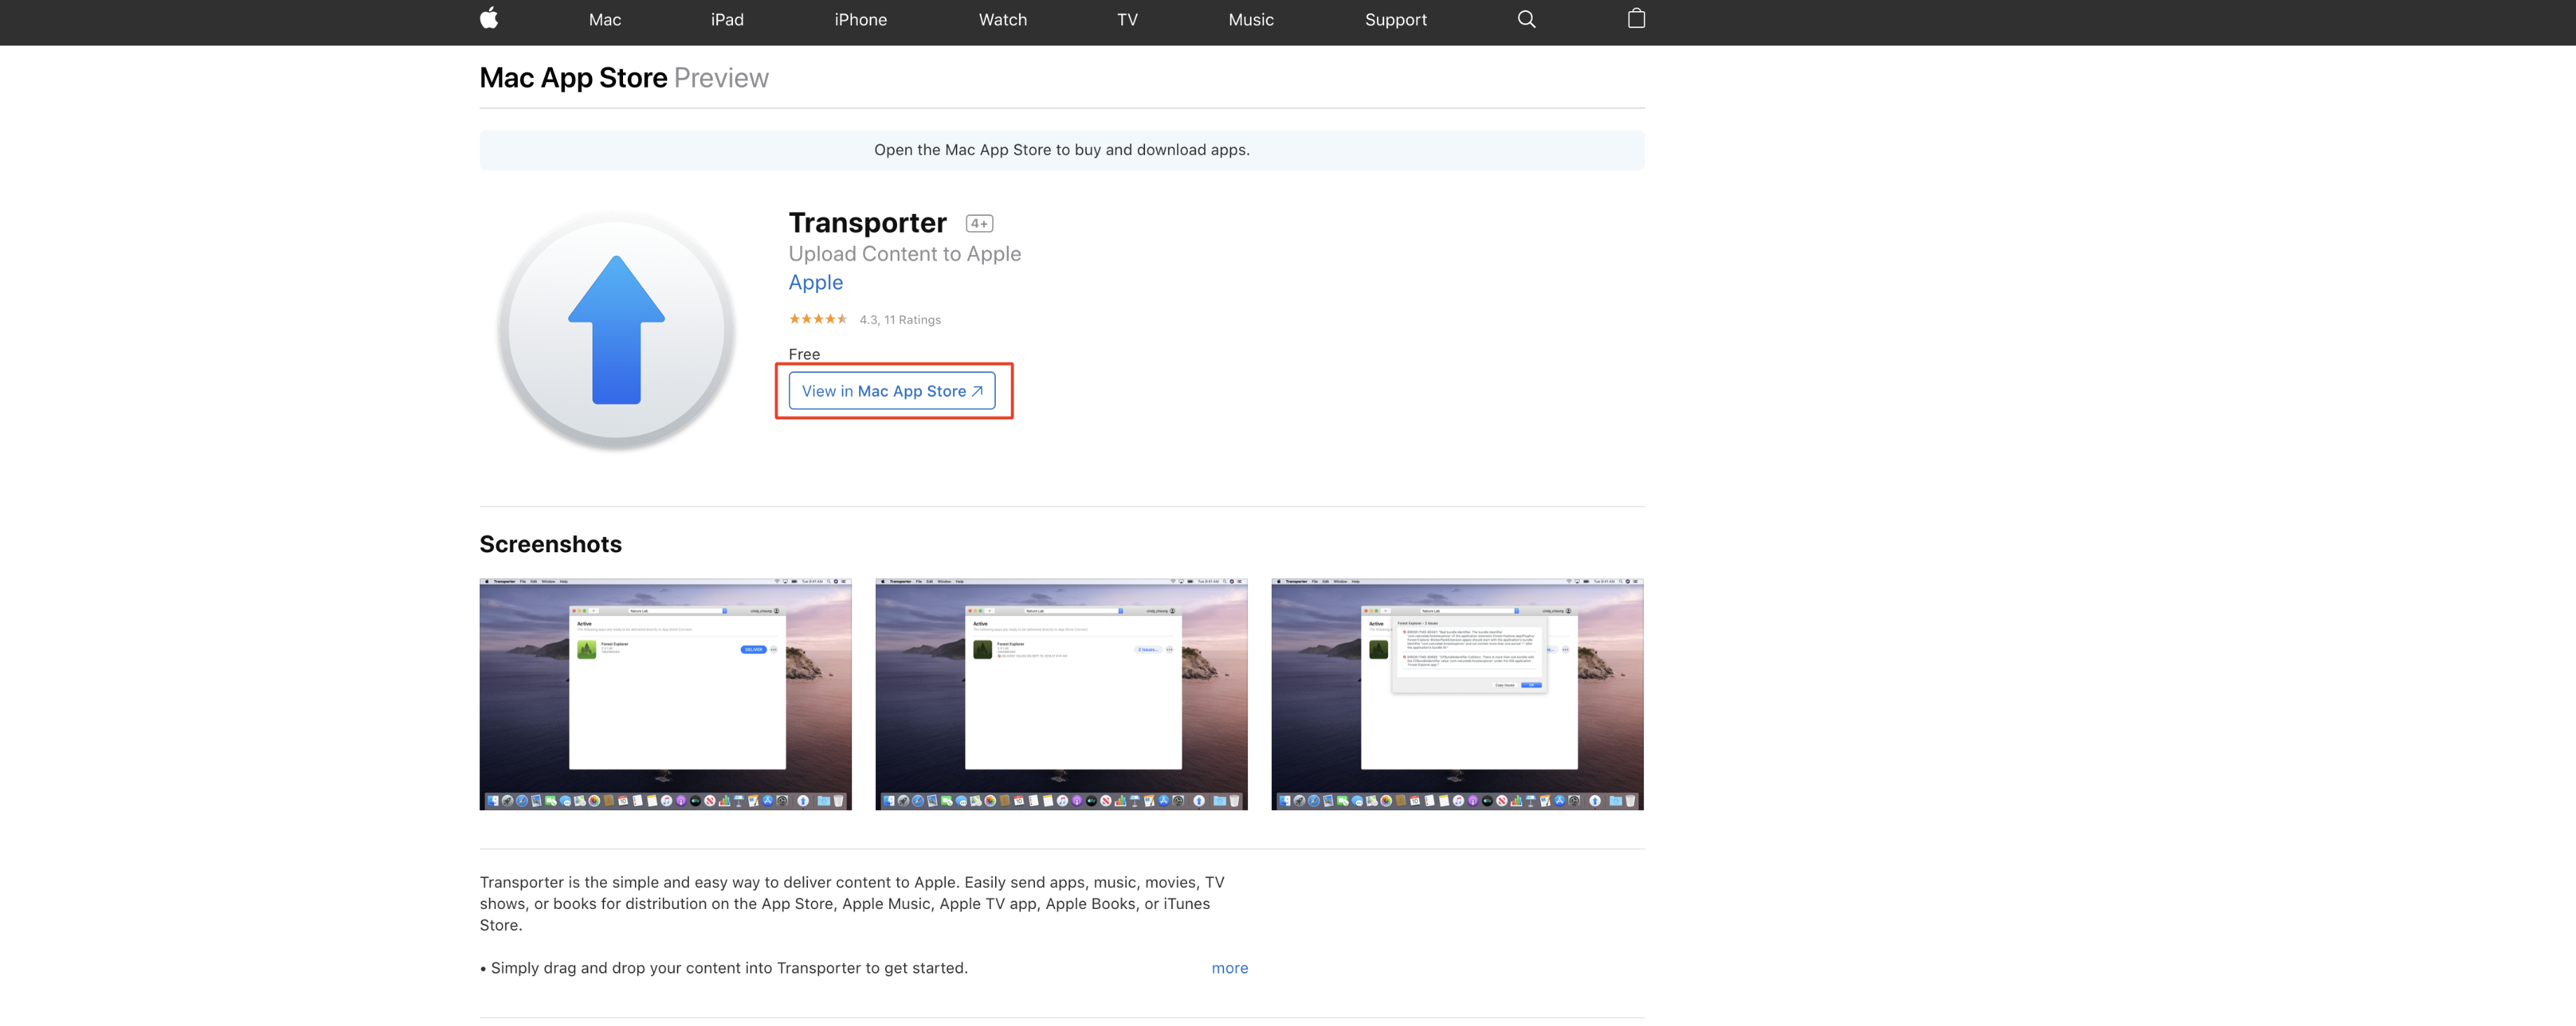
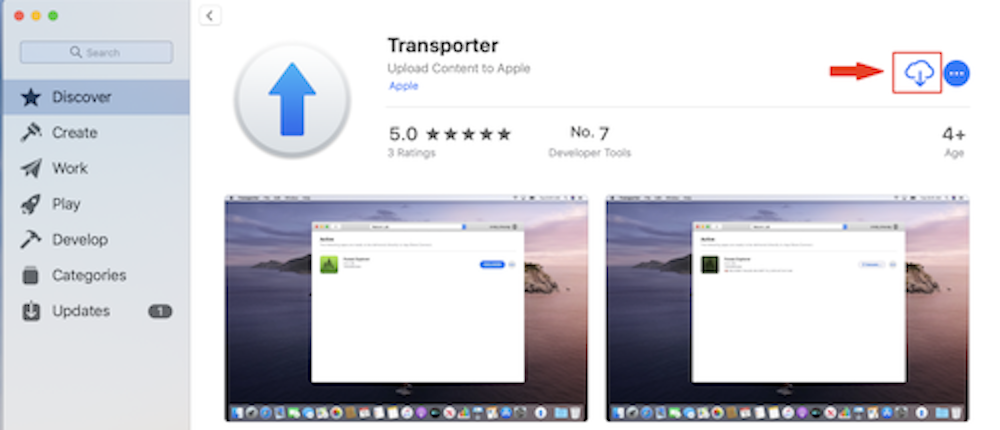
- Click on download icon to Get Transporter app
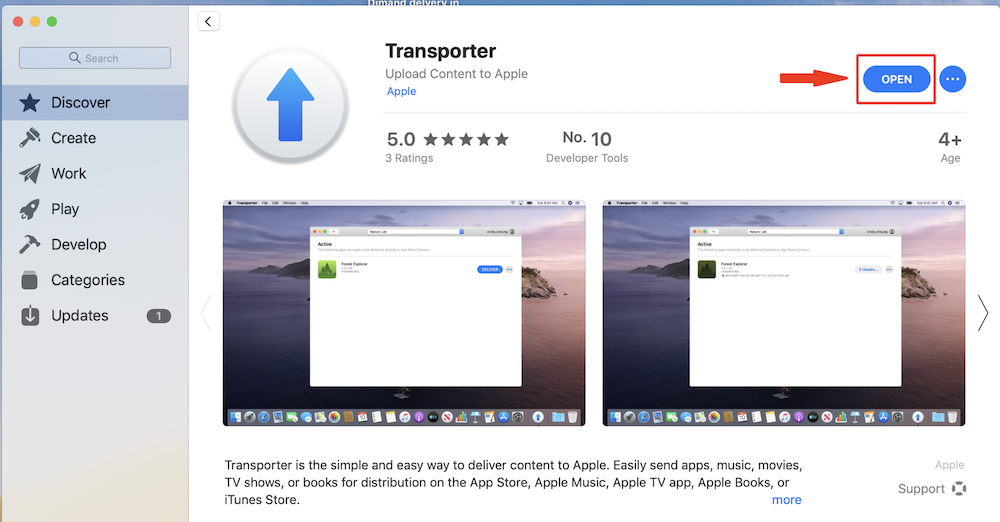
- Click on Open
- Click on ‘+’ icon
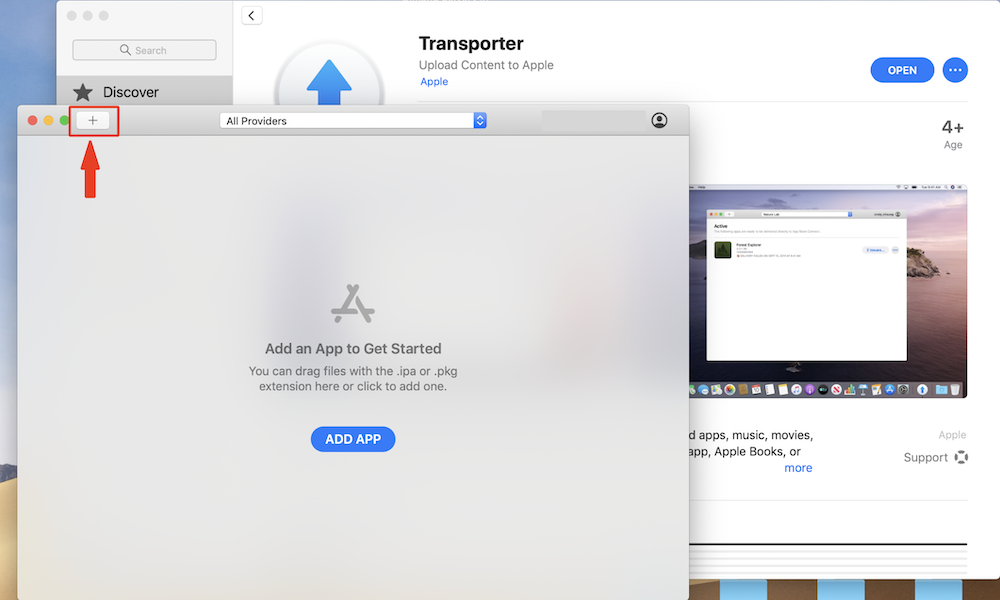
- Select the app you would like to Submit and click Open
- Click on Next

- Wait for the application loader to upload your file. Once your file is uploaded, you will see a green check (this implies that your app has been submitted to Apple).
Note: You only need to click Send if you receive an error message and want to re-add your application - You have successfully added your application to the App Store, click on Done
Steps you should consider before you enroll as a developer in the Apple Developer Program
- Organization: Let’s say the Company Name of your app is Appy Pie App Builder then the developer name should be Appy Pie (LLC, Inc, Ltd, etc.) In this case the app would easily get approved by the apple review team as long as you are able to provide documentation demonstrating ownership of the business. Please be sure to include dates, rights holders’ names, you/your company’s name, and relevant signatures.
- Organization: Let’s say you are “Peter Jones”, an employee of Nike Inc who created an app for Nike’s November Marathon. Now, your employer delegates the responsibility of publishing this event app to you through your personal developer account. In this case, you need to provide documentation proving your employment with Nike Inc and a letter from Nike’s management team authorizing you to submit the app under your personal developer account. Acceptable documentation includes a copy of the contract between you (the employee) and the copyright holder (the employer), detailing your affiliation with the business.
- Sole proprietors/single person businesses: Let’s say you named your app – Appy Pie App Builder and created a developer account under the name of the founder i.e. “Abhinav Girdhar”, In this case you need to provide business ownership documentation to Apple explaining how “Abhinav Girdhar” is associated with Appy Pie App Builder.
- Individuals: Let’s say your first name is Noah and last name Smith. If you have named your app – Noah’s Recipes, then the developer name should be Noah Smith. In this case the app should get approved, however, if your developer “James Franklin” created the Apple Developer Account under his own name i.e. James Franklin then you would need to provide Apple a document that includes a copy of the contract between you (the provider) and the account holder (the developer), detailing your developer’s affiliation with the business.
What kind of documentation or proof of authority is Apple asking for?
- If you are the owner of the Brand
In case you are the owner of the brand or the business, you would have to submit documents supporting your claim.
- If you are an employee of the organization
In case you are an employee who is developing the app, you would need to furnish proof of employment within the organization, and documents to prove that you have the authority to publish the app through your Developer Account. - If it is still only an idea
In case there is no registered business yet, you can mention that the whole app idea is still only an experiment and you are in the process of exploring the scope and potential of your business idea. Mention that you intend to wait for a particular amount of time to see whether you can generate enough interest and get enough installs to understand the business viability.
Why is Apple questioning whether the app and the content was submitted by me?
Apple is carrying out a vetting process to weed out the spammers and spam apps from the App Store. As a part of the process, they would like to know whether the app in question was submitted through the owner’s individual Apple Developer Account. Also they want to ensure that the content on the app comes from a genuine source.